Threshing wheat on a small scale

As I last posted, the wheat had been “scythed” (big garden shears) and left to dry. I had a couple of ideas on how to thresh it, but ultimately I built a replica of another person’s machine. They used two pieces of chain mounted to 1/4″ threaded rod, this was then lowered into a 5 gallon bucket of wheat and a drill applied free-hand. Sort of like a hand kitchen mixer. I though that was hokey, so I drilled a 1/4 pilot hole in my bucket base to serve as a bearing, with the free end poking through a similar hole in the lid. I used 1/4 steel rod, and brazed a washer 1/4″ from the end to serve as a thrust washer. I brazed two 4″ sections of chain to the rod, right at the thrust washer so the flails would scrape the bottom. It’s like a brush hog or weedwhacker, the flails beat the shit out of the heads and knock the berries out.

The first iterationIMG_1564

This is looking down into the bucket.

I first cut all the heads off the stalks, this worked excellent. Notice how the chaff is mostly the seed cover. This was easy to winnow, not much heavy chaff and it went in one step using a fan and a 4×4 piece of plywood. IMG_1565IMG_1566

This was the spring wheat, it yielded 1/3 of the winter  variety but looked fine. It was a smaller plot, but it wasn’t as good.

Next I said “let’s just toss the whole stem in” for the winter wheat. This didn’t work well, the stems wrapped around the axle up high and didn’t thresh much.  I added a second flail 6″ up, that did the trick and I was able to thresh the whole stalk. I had to get the corded Makita drill to spin it, the cordless was not happy with the load. IMG_1570

Notice how now there’s the normal combine harvester  discharge chute contents. Good, as you can avoid trimming but bad as it makes more trash and takes longer to fan winnow. I’m not sure it saves any time, you have to pick out more husks from the berries. They cling to some, vs. almost none with just the heads present. I got a lot more broken seed too. Maybe if I had a multistage thresher, and 4 flails, and a fancy winnower setup it would be a non-issue. But I’m not that motivated yet, this works ok for what I needed.   Here’s a shot of that winnowing:IMG_1569Final product

IMG_1572

The yield was 2 1/2 cups of wheat berries per 9.25 sq ft. Doing the math, a 50’x50′ plot with good fertilizer should yield a years worth of wheat plus some seed.  Impressive, and finally it worked out. I will grind this and make bread, to complete the experiment. Chalk this up as a win…

Cookin’ with gas….

Finally got around to testing out my heating and cooking gear. 

burnerThis is a Harbor Freight single propane burner, it’s the shizz. Nicely made, perfect flame etc. I used this one long ago to make coffee, but on a 12 oz bottle versus the 15 lb cylinder. The hose to the right I got at Home Depot, it has a regulator with the gas flare fitting. Gotta have that…

This is the main cooking surface, you can get fancy and go two burner but I’m not Paula Deen. It will also kick out a fair amount of heat if it gets chilly or you are too lazy or cheap to buy a Heater Buddy.

This is the oven.

oven

I got it at St.Pauls Mercantile, along with other cool third-world stuff. This little oven is so awesome, it got to 500 degrees before I realized it and will run at 325 at the very lowest stove simmer setting. Note the oven sits on top the HF burner, it’s not one piece. It’s 10×11″x13″ internally, and will hold quite a bit if you get pans that fit. Normal loaf pans may be too big to put 4 in at once, so you have to make sure to measure them before buying. Same thing with cookie sheets.

Shot of the internal temp and burner, the front thermometer is for amusement only.

temp

The Butterfly Kerosene stove

flame2

Also available at St. Pauls, so cool! You fill the tank with K1 (diesel would probably work in a bind), let the wick soak, and light it off. It burned a lot cleaner than the heaters I’ve owned, nice blue flame with no yellow tail. As with the oven, will put out a ton of heat and will get a pot roiling quickly at full tilt. You can adjust the flame a lot, and use it as a heater. The beauty of this is the fuel, 5 gallons of K1 will go a long way so pound for pound this is the way to fly. It does smell, and will smoke like a bitch when you fire it up and shut it off due to the way the chimney heats up and cools off. All kero burners do that, so nothing new there. What impressed me was the simplicity of the design and how well it worked, there’s something to be said for one moving part. One caveat: the burner ring has to be level or the flame will not be equal nor will it get very hot:

flame1

Notice how I cleverly ignored the big font in the instructions about making sure it’s level. I though it was referring the tank, but it’s the burner. The liquid K1 needs to fill the wick evenly, if it’s slightly off kilter the wick will run dry on one side and then not make enough heat to vaporize the fuel.

Heater Buddy

heaterAnother cool item, it’s a small ceramic element heater that can run from a 12 oz bottle or a tank. This is a non-regulated adaptor hose, it has a male bottle thread on the heater end.  Small, efficient, and flexible. Even has a pilot light.

All in all a very satisfying afternoon, things actually worked as expected and I have “Operation Eagle Toast” behind me.

Mid-term emergency planning

We’ve discussed short term planning and prep in a previous post, the next phase begins roughly 20-30 days after the event and lasts until you can achieve sustainability. Recall that the short-term will be covered by a relatively moderate amount of preparation and supplies, augmented by whatever you have on hand or can grab prior to the depletion of local stores. That will represent the last link to normal and familiar existence, after that runs out you will need to shift to a much more labor intensive routine. Most of us take advantage of prepared foods and many modern conveniences, none of which will exist. There are a number of categories to consider:

  • Heating
  • Power
  • Cooking
  • Water
  • Food
  • Sanitation
  • Self-defense
  • Shelter
  • Fuel
  • Transportation
  • Human interaction

It’s sort of a “OK I made it this far, now what?” scenario.  Up to that point, chances are it will seem like a camping trip or the aftermath of a hurricane; not a lot of work just consuming supplies. The next phase will need to last long enough to get things ramped up to allow existing on what you can grow and collect in and around your dwelling.  That’s the Day366 idea, maybe it’s Day183 but same principal. At some point, no matter how much stuff you hoard you will run out. That will be primarily food related items, the rest is less critical and beyond the scope of this blog. To a large extent, other things will become available as people move on (both figuratively and literally). For instance, say 5 months later you need some nails. The local Home Depot will probably have lots of them, you can’t eat nails and they are useless to looters.

I’m going to cover the last item of my list first, Human Interaction. This might be the most important one, since your survival could depend on who shows up at your place.

Human Interactions

There’s a new movie out called “American Blackout”, I don’t plan on watching it but the plot revolves around a cyber-attack on the power grid. It covers the first 10 days, but I’m not sure if it assumes the blackout lasts longer than that. This made me think (again) about how people would respond in a crisis, and how my planning would be affected.  Frankly, I have a very tough time imagining what others will do. We all tend to assume people will behave in a certain fashion, either like us, helpless incompetents, or as criminals.  That’s the sense I get visiting prep sites, maybe that’s correct but no idea, really. I’m going to try to be open-minded and think this one through.

Neighbors

These folks are, by virtue of proximity and familiarity, going to be the first to come a ‘knocking.  I expect them to be out and about and seeking help and information from the start of the crisis, it’s only natural but begs the question of how to respond.  On one hand, if outsiders cause trouble you may want to band together for protection. On the other, chances are they will only drain what limited resources you have and expect you to help even if you can’t. My position is to offer guidance, information (you may be the only link to the outside), and assistance defending against outsiders.  Say nothing about what you have, that will create a terrible problem later. I’d like to be able to function as Farmer Bob and feed the subdivision, but that’s not practical. So, the only reasonable path is to defer food requests and make them find it themselves. I could probably provide clean drinking water, assuming they bring it to me for filtering and treatment. I could also give them a few seeds, if they can plant and maintain a garden.  You have to force people to shift for themselves, otherwise they will do nothing and expect to be taken care of. Sound harsh, but there’s no other way to handle it.  It’s the old saying about teaching someone to fish rather than giving them one…

The exception to this is block defense, if strangers begin roaming and looting houses you may need to form a team to repel them. I suppose it would be like a tiny version of the Minutemen, those who own firearms respond to the call. That assumes your neighbors are not royally pissed off at you and/or are the ones doing the looting.

What I’d really like to do is organize the nearby homes, pool resources, and get cranking on the gardening/farming/wood cutting/improvising.  Whether or not I can convince people to follow that is a big question, but they’d have few options.   Beats me if this is feasible, or it breaks down and we end up in Mad Max mode after all.

Outsiders

This is the land of pure speculation. I’m not sure if too many outsiders would show up, given the difficulty of travel and resupply. If they did, I would stay quiet and wait until they left. If they caused trouble, warn then dispatch. I don’t see how you could tolerate any form of looting, that defeats the whole purpose of prepping and would cause you to lose everything you worked so hard to put in place.  ‘Nuff said there.  One complication would be cops and armed forces, if they started commandeering private property under some bullshit law it would put you in a real bind. I could just see the local doughnut eaters trying this, although I doubt it would be successful. If the armed forces do it, maybe better equipped but still facing resistance from heavily armed homeowners. Same approach, hide then attack if they persist.

Food

Learning from my storage experiments, here’s what I recommend as the food options:

  1. Freeze dried entrees, veggies, fruits. This stuff is reasonably priced, stores for up to 25 years, and has enough variety to prevent food monotony. How much is up to you, but I suggest at a minimum three meals a day per person for 3 months. This, added to the short term stock plus things I list later, should get you to the 6 month or beyond mark. http://www.beprepared.com is a good source of these items, I’ve been very happy with them.
  2. Freeze dried basics. You will want to augment the entrees with some staples, like potatoes, soy protein meat substitutes, powdered eggs, powdered milk/butter/sour cream/tomato paste, etc. These allow you add in simple sides and also make things like pasta sauce from long term stores. This will stretch out your entrée selection and use things like rice, beans, and pasta in normal dishes rather than prison camp fare.  What’s for breakfast? Beans. Lunch? Beans. Dinner? Get ready….RICE! Yay!  Need to avoid that trap. http://www.rainydayfoods.com/ is a good source for all this.
  3. Grocery Store items. You don’t need to buy everything in sealed cans, here’s a sample of what can be safely stored in Ziplock bags and boxes:
    1. Pasta.
    2. Rice
    3. Baking powder
    4. Yeast
    5. Salt
    6. Sugar
    7. Spices
    8. Cocoa
    9. Dry soup mix
    10. Potato flakes
    11. Canned meat. Note: this needs to be stored separately, rotated and checked. The cans do corrode and the result is a disaster.
  4. Grains and legumes. Sold as a kit by BePrepared, contains a years supply of misc grains. Highly recommended, but note requires a grain mill for the wheat and oats.
  5. Oils. I’m still working on this, but so far the leading candidate is coconut oil. It’s almost fully saturated, is a solid below 75 F, and is said to keep for 6+ years if kept cool, dark, and unopened.  Plain corn oil is OK if you check it, but this is a work in progress.  BTW you MUST have some kind of fats and oils in your diet, plan on looking like the Olsen twins without it.
  6. Powdered drink mix, coffee.  This falls under the monotony rule, it is said that drinking just plain water leads to dehydration, esp. with kids.  Packets and jars of Koolaid and chocolate milk store well and are easy to make.

Heating and Cooking

Really the same thing, you probably will be using the same item as a heat source and for cooking. The best approach is a propane burner, this can be run indoors with no smoke. Downside is the need to stockpile gas, but some quick ciphering leads you to about 8-10 15 lb cylinders as a minimum. That’s not bad at all, and highly recommended. Using a Coleman camp oven on top the burner gives you a small volume stove.

Alternately, you can purchase a cheap wood stove and pop for the Lehman’s Amish oven. This is a lot more hassle, you have to run a chimney, cut and season wood, and will create a giant signal that says “go here to pillage”.  It’s totally non-stealthy, and really belongs in the Day366 section but thought I’d mention it.

Stay tuned for more when I get motivated to finish this post….

Realistic preparedness plans, some guidelines and specific information

So after all the introduction and argle bargle, here’s the start of the relevant material. I’m writing this for the person who may not know much about the subject, may be they are interested but not sure where to start or even if it’s practical. If you are already deeply involved with it, it may be of limited usefulness but might expose some gaps in your own plans.

How to begin

I recommend starting small, with a specific length of “off grid” time in mind. This is the whole idea of prepping (I hate that word but it’s terse), if something happens how can you and your loved ones survive if not be comfortable. When I started, I picked the following goals:

  •  30 days
  • 3 months
  • 6 months
  • One year

I have since added “indefinitely” to the list, it’s the Day366 thing but a much more intense and long-term exercise. It may be good to add two weeks on the front, this is a more realistic time frame for common emergencies and doesn’t require the same level of effort and expense.  Let’s walk though that first….

TWO WEEKS

We will assume a standard scenario for most of the timelines, i.e. you’ve lost electrical power, utilities, access to most if not all outside facilities. This one doesn’t include any self-defense, as 2 weeks will likely not lead to unrest.

Water

You will need one gallon per person per day, so 14 gallons each.  Family of four, just under 60 gallons. Distilled water is a buck a gallon, cheap and keeps a long time. Buy these 4 at a time, and cache them in a cool place. You can stack 3×3 or 4×4 in a small area, 4-5 high on plywood and bricks so there’s 36-125 gallons. This one is non-negotiable, you can exist without a lot of things but water ain’t one of them.  Notice I’m not recommending a purifier, too expensive and a hassle to dick with collection. You can supplement your cache with the hot water and toilet tanks, they contain clean water but will probably have some sediment. Use that for washing or a reserve. The hot water tank will have a drain at the bottom, just open the valve and gravity will force it out. Toilet tank (not the bowl!) is accessed by lifting off the lid, dip it out.

Food

I recently read the average family has just two days of food on hand. Judging by the duct cleaning young-uns comments on our modest pantry, I’d say that’s about right. My parents went through the Depression, and always had plenty on had. They weren’t hoarders, just of a different time when food wasn’t readily available. You will need 3 square meals a day, per person, plus snacks. This food will not be low-cal. It needs to have lots of calories and protein, and be tasty so everyone feels like eating. No one wants crap food in a highly stressed environment, just ask combat vets.

Speaking of vets, one very easy way to meet this need is to buy MREs. Uncle Sammy spent a lot of money and time on these, and they are the shit in an emergency. I’ve eaten  aircrew versions, they were pre-MRE but had lots of the same stuff. They were great, I’m not a food snob and think people like to bitch about the grub no matter what.  If you are wise, just buy MREs from a reputable supply house and you are done. Kinda spendy but if you store them in a cool area they last 8-12+ years. They are also a building block of the longer term plans, those incorporate MREs as variety to the stored food and grains. And, you can get the chemical heaters that make the entrees hot without flame. VERY HARD TO BEAT.

Other food options

If MREs just can’t be had, be prepared to spend a lot of time and space on the alternative, plus rotating stock to avoid spoilage. And, you will need ways to prepare said food. Keep this in mind, the last thing you want is to have to run an oven all day to eat. Everyone is different, but here’s some ideas of what and what not to buy:

Yes

  • Peanut butter
  • Pilot crackers
  • Jelly
  • Canned meats
  • Chili
  • Cereal, esp granola
  • Mac n cheese (the fattening, in a cup kind). Requires boiling water but not pots full.
  • Ramen noodles
  • Any “add boiling” water foods, including freeze dried. Those really belong in the longer-term category but will work fine.
  • Instant drink mix
  • Powdered milk.

No

  • Canned soup. Salty and heavy as hell, needs a stove, and no nutritional value.
  • Pasta, flour, cake mix, or anything needing cooking.

So if you want to be cheap, eating will not be much fun. Kinda like real life.
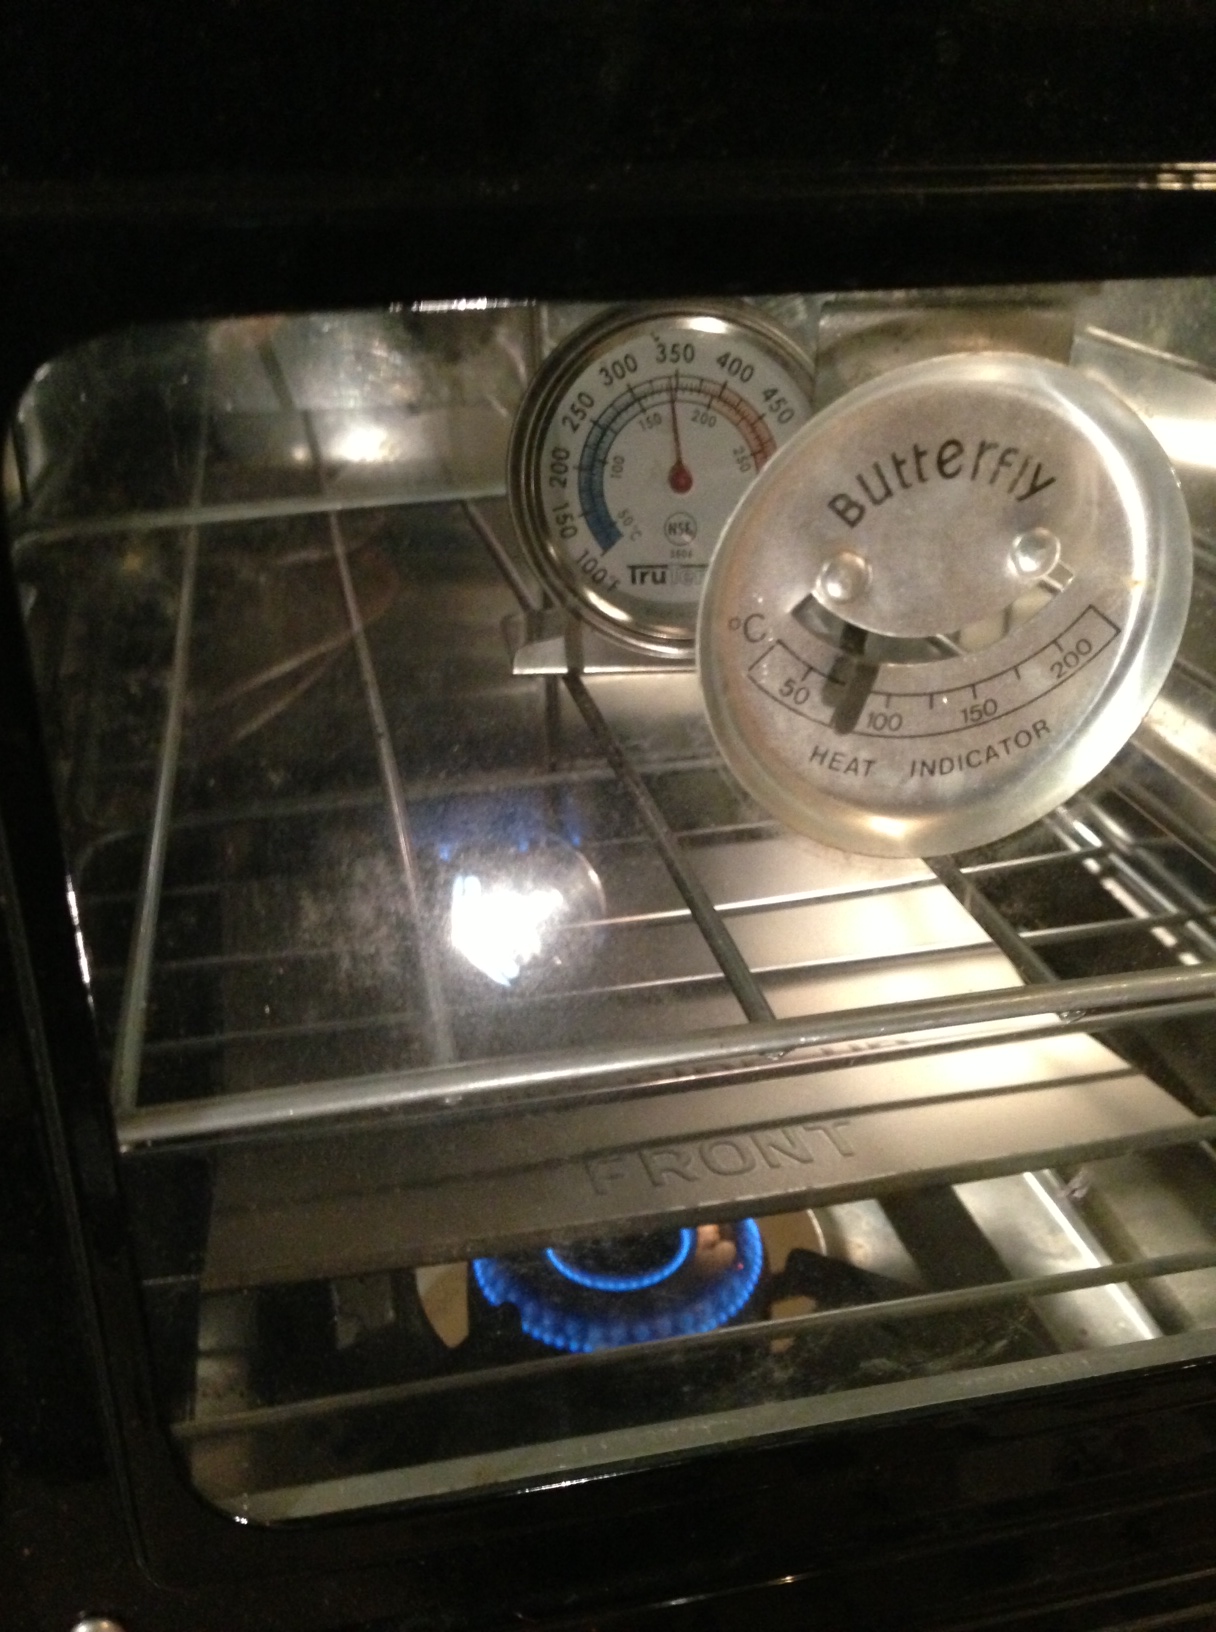
Cooking

Notice how you needed boiling water for most foods? You might also need it for other things, like coffee and tea or to sterilize water. A heat source is needed, here’s some options:

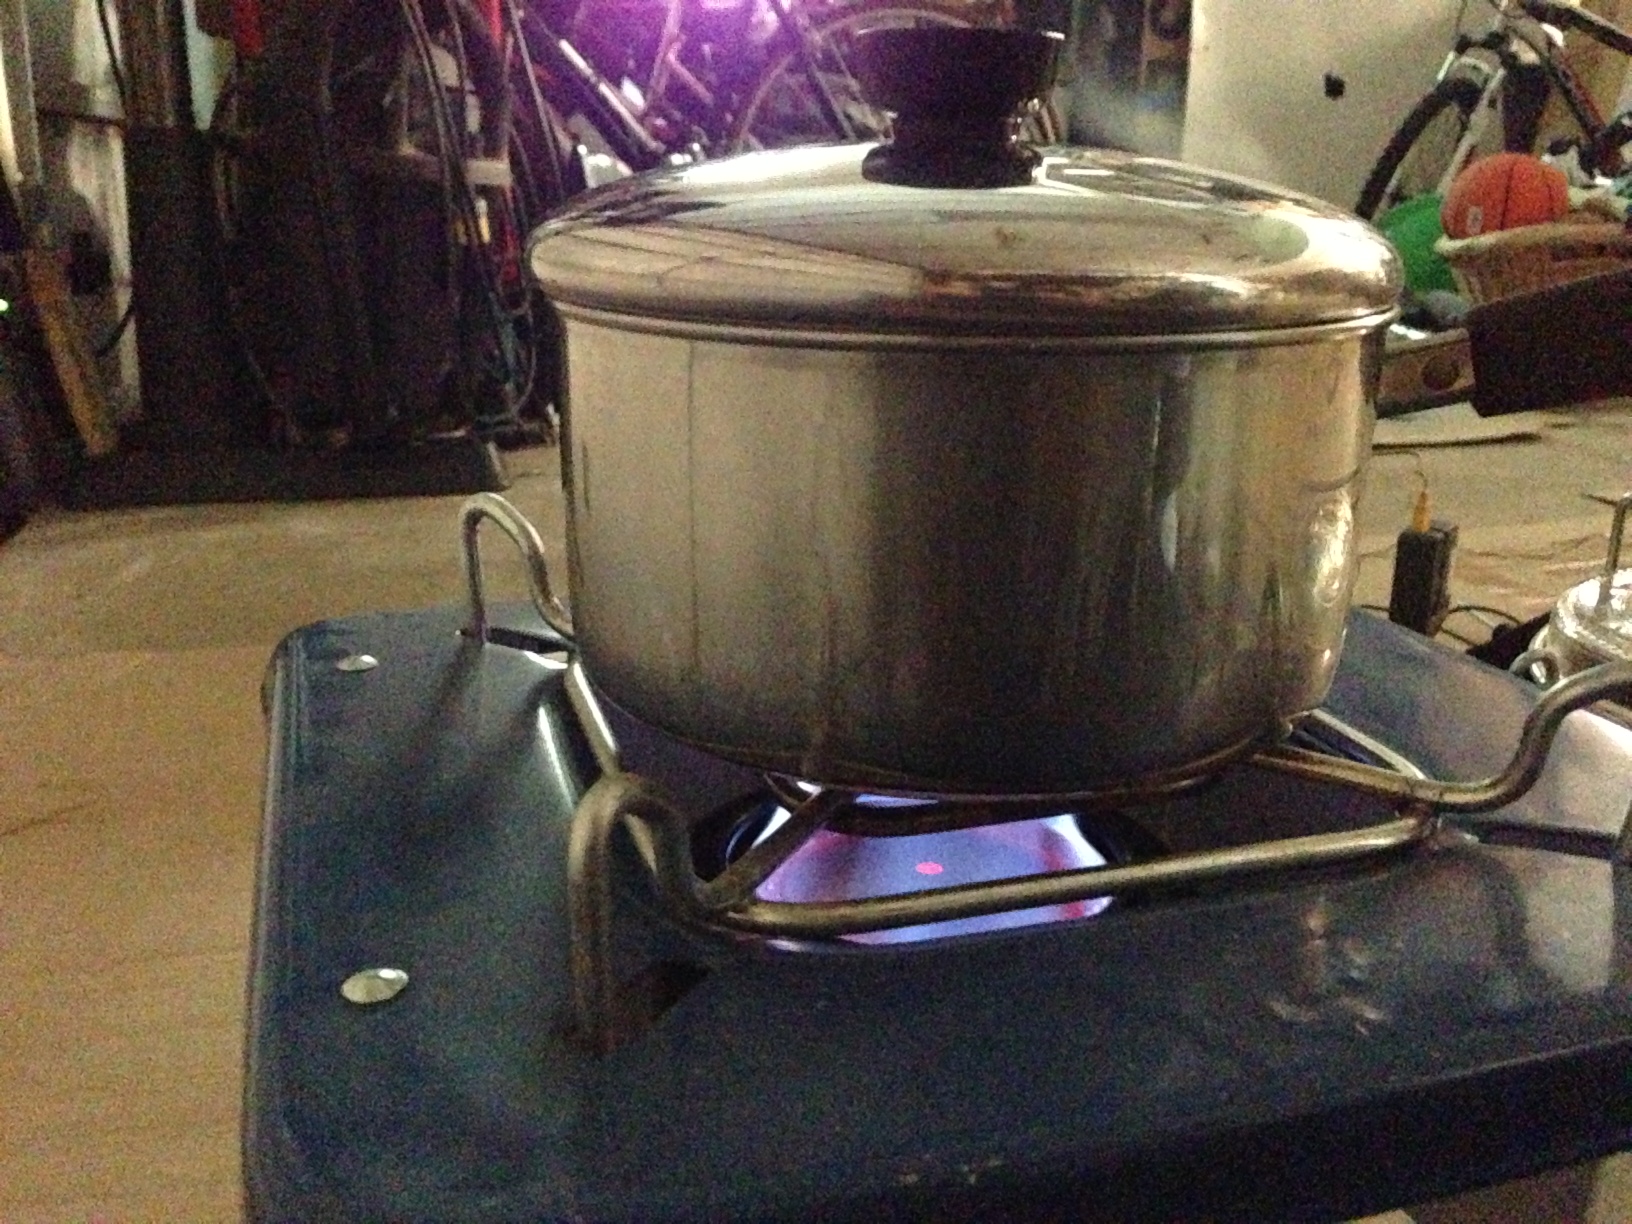
  • Jet Boil. This company makes climbing stoves, these have an insulated chimney that can boils 16 ounces of water in a minute. Pretty much the bomb for freeze dried grub and hot water. Uses little cans of butane, very light and portable. Spendy but like MREs, hard to top.
  • Harbor Freight or Coleman burner. A single gas burner, runs on small propane bottles. Less than Jet Boil, heavier and bigger, sprays BTUs everywhere. Can double as a small furnace, which is tres handy.
  • Kindling burner. A glorified camp fire in a can, uses wood so fuel isn’t a problem. Outdoors only, not really recommended.

Heat

Heat Buddy. Runs on the same small propane bottles as the stoves, will keep you from freezing. Anything else is seriously not recommended, for the price this is the way to go.

Fuel

Either cases of the small propane bottles, or 1-2 cylinders. The bottles are a whole lot less to carry, and don’t need complex adapters and hoses. Get enough to last the whole time, both cooking and heating. You can follow the consumption rates listed in the instructions to add up the amount needed.

Light

You don’t need to go nuts with this, although I have found just a flashlight really blows for illumination.  Coleman and others make nice dual fluorescent lanterns, they take a wad of D-cells and can be run off 12 volts. I’d consider that a minimum, along with a few LED flashlights. Stepping up from here is a regular lamp, using CFLs. They use 7-8 watts, but need an inverter and battery bank. This option feels more normal, you can read and do regular activities with that much light.

Power

A couple of options here:

  • Dry cells. This assumes you run everything from AAA-D cells. Not a bad choice, just make sure you buy lots of name brand cells and keep them current.  You are limited to lanterns and portables.
  • Deep cycle or SLA battery with an inverter. Ahh, now we are talking.  Costs a lot more, but can be set up to run larger loads like a lamp or laptop. I won’t digress on the details, but expect to spend 300 bucks for a decent setup. More than that for a small solar array to charge it. This may not be practical for the 2 week’er, but electricity is sooooo nice.

Sanitation

You will need the following:

  • Toilet paper
  • Paper towels
  • Plastic ware, cups
  • Soap. Good old Ivory bars, nothing fancy
  • Two buckets. One to wash up, one to..you  know.
  • HD trash bags
  • Feminine hygiene accoutrements
  • Disposable razors
  • Travel shampoos
  • Kleenex

OK, I think that’s everything. If you have everything on the list, you are good to go for the duration barring any medical crisis.